How to Read Macrame Patterns: Complete Guide to Notation, Symbols and Scaling
How to read macrame patterns is the single skill that separates makers stuck on YouTube tutorials from those who can produce any design they want. Written patterns use compact notation: SK, HH, DHHK, that looks like a foreign language until someone explains the system. This guide gives you that system. The arts and crafts market reached USD 44.4 billion in 2024 and is forecast to grow to USD 62.6 billion by 2029 ([Rain POS]), and most of the new pattern designers entering that market publish in written notation rather than video. Reading patterns is no longer optional for serious makers.
Key Takeaways
- Common knot abbreviations: SK (square knot), HH (half hitch), DHH (double half hitch), LH (lark's head), GK (gathering knot)
- Pattern diagrams use specific line and dot conventions to show working cords, filler cords, and finished knots
- Scaling a pattern up or down requires recalculating cord lengths using the standard 4x finished length rule for square knot rows
- Convert cm to inches by dividing by 2.54; convert mm cord diameter to inches by dividing by 25.4
- Always make a 10cm test panel before committing to a full-scale piece, which confirms cord, tension, and knot count
What Are the Standard Macrame Knot Abbreviations?
Macrame patterns use a compact set of abbreviations that has been standardized across most English-language pattern publishers since the 1970s. Once you memorize about a dozen of these, you can read patterns from designers in any country that publishes in English. The abbreviations sit beside numbers that tell you how many of each knot to make and which cords to use.
| Abbreviation | Full Name | What It Does |
|---|---|---|
| SK | Square Knot | Standard four-cord knot, two outside cords wrap two filler cords |
| HSK | Half Square Knot | Half of a square knot; produces a spiral when repeated |
| LH | Lark's Head Knot | Mounting knot that attaches cord to a dowel or anchor |
| RLH | Reverse Lark's Head | Lark's head with the bump on the back of the work |
| HH | Half Hitch | Single wrap of one cord around another |
| DHH | Double Half Hitch | Two consecutive half hitches; the most common diagonal knot |
| DHHK | Diagonal Double Half Hitch | DHH worked along a diagonal filler cord |
| HDHH | Horizontal Double Half Hitch | DHH worked along a horizontal filler cord |
| GK | Gathering Knot | Wrapping knot that bundles multiple cords together |
| OK | Overhand Knot | Simple single-loop finishing knot |
| BK | Berry Knot | Three or four square knots stacked and pulled to form a bead |
| JK | Josephine Knot | Decorative interlocking loop knot |
When you first see "Row 3: 4 SK across" in a pattern, the instinct is to count cords from left to right. Slow down. Count groups of four cords, because each square knot uses four cords (two working, two filler). Four SK across means you need 16 cords in that row. Miscounting this on the first row of a wall hanging means you discover the mistake five rows later, and there is no fixing it without unraveling.
How Do You Read a Macrame Pattern Diagram?
Pattern diagrams are visual schematics, not pictures of finished work. They show the path each cord takes through the knot structure using a small set of consistent symbols. The Pattern Library at the International Guild of Knot Tyers ([IGKT]) is one of the most-cited references for diagram conventions, and most published patterns since 2010 follow a closely related visual language.
The four diagram elements you will see in almost every pattern:
- Solid lines: represent working cords actively forming a knot
- Dashed lines: represent filler cords or anchor cords that the working cords wrap around
- Dots or small circles: mark the position of completed knots
- Arrows: show the direction of travel for diagonal knot rows
Some designers add color coding. Two colors in a diagram usually mean two different cord groups (left-side working cords vs right-side working cords, for example). Read the legend on the first page of any pattern before starting, as designers do not always agree on color meaning, and assuming costs you hours.
Reading Direction
Most macrame patterns read top to bottom, the same direction you knot. Within a row, patterns typically read left to right unless the designer specifies otherwise. Plant hanger patterns are an exception: many read from the gathering knot at the top down through the body, but the cord layout is shown flat.
What Do Pattern Headers and Material Lists Tell You?
The pattern header is where designers compress the most important information about a project: cord type, total cord length, finished dimensions, and difficulty rating. Reading this section carefully before you cut any cord saves the most expensive mistake in macrame, which is cutting wrong-length cords for a project you cannot finish.
A typical pattern header includes:
- Cord type and diameter: for example, "4mm single-strand cotton cord"
- Total cord required: for example, "60 meters" or "60m"
- Number of cords to cut and length of each: for example, "16 cords at 3.5m each"
- Finished dimensions: width and length of the completed piece
- Skill level: beginner, intermediate, or advanced
- Mounting hardware: dowel diameter, ring size, or branch dimensions
The total cord length and the cut list rarely match exactly. Designers add a buffer of 5-10% to the cut list to account for cord variance and finishing tails. If a pattern lists 60m total but the cut list adds up to 56m, that 4m gap is the buffer. Do not skip it. Cord shortage in the final row of a pattern is one of the most common reasons makers abandon projects half-finished.
Cord-to-Finished-Length Ratios
Most patterns assume a standard cord-to-finished-length ratio for each knot type. These ratios are how designers calculate cut lengths in the first place, and you will need them later when scaling patterns:
- Square knot rows: 4x the finished length per cord
- Diagonal double half hitch rows: 6x to 8x the finished length per cord (uses more cord because of the wrapping motion)
- Spiral half square knot: 8x the finished length per cord
- Plain unknotted fringe: 1x to 1.5x the finished length
How Do You Scale a Macrame Pattern Up or Down?
Scaling a pattern means changing its finished size while keeping its design proportions. Scaling up makes the piece larger; scaling down makes it smaller. The arithmetic is straightforward but unforgiving; small errors at the start compound into significant cord shortage or excess at the end. A 2024 maker survey by Modern Macramé reported that miscalculated cord length is the most common reason intermediate makers abandon projects ([Modern Macramé blog]).
The two main scaling approaches:
1. Scale by cord diameter. Keep the same number of cords and knots, but change the cord thickness. A pattern designed for 4mm cord can be made larger by switching to 5mm or 6mm cord. This produces a visually larger, chunkier finished piece. Recalculate cord length using the same multiplier (4x for SK rows, 6-8x for DHH rows), but with the new larger finished dimensions.
2. Scale by cord count. Keep the same cord diameter, but add or remove cords. Adding cords makes the piece wider; removing cords makes it narrower. Changes to length come from adding or removing rows of knots. This approach preserves the original texture but changes the dimensions.
Worked Example: Scaling Up a Wall Hanging
Original pattern: 16 cords at 3m each, 4mm cord, finished size 30cm wide Ã, 80cm long.
To scale to 45cm wide Ã, 120cm long (a 1.5x scale):
- Multiply cord count by 1.5: 16 Ã, 1.5 = 24 cords
- Multiply cord length by 1.5: 3m Ã, 1.5 = 4.5m per cord
- Total cord required: 24 Ã, 4.5m = 108m (versus 48m for original)
- Add 5-10% buffer: 113m to 119m total
What Not to Scale
Mounting hardware does not scale linearly. A 30cm wall hanging on a 35cm dowel becomes structurally awkward at 90cm wide on a 95cm dowel because the dowel can sag under the cord weight. For pieces wider than 60cm, use thicker dowels (20mm minimum) or distribute the load across two mounting points.
How Do You Convert Between Centimeters and Inches?
Pattern designers from Europe and Asia publish almost exclusively in centimeters and millimeters; designers from the United States and parts of the United Kingdom publish in inches and feet. If you buy patterns from international designers, you will need to convert. The conversion math is exact, not approximate.
| From | To | Multiplier |
|---|---|---|
| Centimeters | Inches | Divide by 2.54 |
| Inches | Centimeters | Multiply by 2.54 |
| Millimeters (cord diameter) | Inches | Divide by 25.4 |
| Inches (cord diameter) | Millimeters | Multiply by 25.4 |
| Meters | Yards | Divide by 0.9144 |
| Yards | Meters | Multiply by 0.9144 |
Common Conversions Worth Memorizing
- 1 inch = 2.54cm exactly
- 12 inches (1 foot) = 30.48cm
- 1 yard = 91.44cm = 0.9144m
- 1mm = 0.0394 inches
- 4mm cord ≈ 5/32 inch
- 5mm cord ≈ 3/16 inch
- 6mm cord ≈ 1/4 inch (close approximation)
Cord diameter conversions are particularly easy to get wrong because rounded inch fractions never exactly match metric values. A pattern that calls for "1/4 inch cord" works with 6mm cord even though the precise math is 6.35mm. Do not buy 7mm cord just because it is closer to a strict mathematical conversion. Pattern designers who write in inches almost always mean the closest standard metric size, which is usually one millimeter smaller than the literal conversion.
How Do You Make Your Own Pattern Notes?
Once you can read patterns, the next skill is writing them: first for yourself, then for sharing or selling. Personal pattern notes are the bridge between watching a tutorial and producing a finished piece reliably the second time. The format is up to you, but five elements appear in almost every working maker's notes.
What experienced makers track:
- Knot sequence: the row-by-row order of knots, written in standard abbreviations
- Cord assignments: which cords are working, which are filler, and how cord roles change between rows
- Tension notes: places where you tightened more or less than usual
- Mistakes and corrections: what went wrong and what you did to fix it
- Finished measurements: actual cord lengths used versus what was cut, plus final dimensions
The tension note matters more than it sounds. The same pattern, knotted with a slightly looser tension, produces a piece 5-10% longer than the same pattern knotted tightly. Recording your tension habit lets you reproduce results, and lets buyers of your patterns reproduce them too. Without tension notes, scaling calculations break down because the math assumes a consistent finished size per knot.
Sample Pattern Note Format
``` PROJECT: Small wall hanging CORD: 4mm single-strand cotton, natural CUT LIST: 12 cords at 3m each (36m total + 2m buffer) DOWEL: 20cm Ã, 12mm wood
ROW 1: 12 LH onto dowel (24 working cords) ROW 2: 6 SK across, all four-cord groups ROW 3: 5 SK alternating with previous row (drop outer 2) ROW 4: 2 DHHK from center outward, 12 cords each side ROW 5: 6 SK across ROW 6-10: repeat ROWS 2-4 FRINGE: 30cm unknotted, brushed FINISHED: 18cm wide Ã, 70cm long ```
What Are the Most Common Pattern-Reading Mistakes?
Every intermediate maker makes the same handful of errors when transitioning from video tutorials to written patterns. Knowing them in advance saves the cost of failed projects. The five mistakes below account for most pattern abandonment among makers in the 1-3 year experience range.
1. Skipping the legend. Most patterns have a legend that defines abbreviations and diagram symbols specific to that designer. Designers do not always agree on conventions. Reading the legend takes two minutes and prevents whole-pattern confusion.
2. Ignoring the cord buffer. Patterns list a cut length plus a buffer total. Cutting cords to the exact total length means running short on the final row. Always cut to the cut list, not the total.
3. Misreading row directions. Some rows read left to right; others read right to left or center outward. Diagonal rows in particular have a directional convention. Read the row direction before starting each new row.
4. Counting individual cords instead of knot groups. A pattern that says "4 SK across 16 cords" means four square knots, each using four cords. Counting cords as if they were knots produces the wrong row count.
5. Skipping the test panel. A 10cm Ã, 10cm test panel using the actual cord and your actual tension confirms whether the pattern math works for your hands. Two minutes of testing saves four hours of misallocated knotting.
Frequently Asked Questions About Reading Macrame Patterns
What does SK x4 mean in a macrame pattern?
SK x4 means four consecutive square knots stacked vertically on the same four cords. This is different from "4 SK across," which means four square knots placed side by side on different cord groups in the same row. Stacked SK creates a textured vertical column; horizontal SK creates a row.
Why does my finished piece look different from the pattern photo?
Cord brand, fiber type, and tension all affect finished appearance. Two makers using the same pattern can produce visually different pieces simply because one used 3-ply twisted cord and the other used single-strand cord. Fringe brushing technique is also a major variable. Patterns photograph the designer's specific cord and method.
Can I use cotton cord for a pattern that lists jute?
Generally yes, but expect dimensional changes. Cotton is softer and slightly stretchier than jute, so a finished piece in cotton may sit 5-8% longer than the same pattern in jute. Cotton also takes brushed fringe better; jute resists brushing. Switching fibers is an aesthetic choice, not just a cord swap.
How do I know if a pattern is suitable for my skill level?
Look at three things: the knot list, the cord count, and the diagonal knot density. A pattern using only SK and LH on 12 cords or fewer is beginner-level. Patterns with 24+ cords, multiple diagonal sections, and 4+ knot types are intermediate or advanced. Designer-stated skill levels are reliable but conservative; most makers are ready for "intermediate" patterns sooner than the labels suggest.
What's the best way to track my progress mid-pattern?
A pencil and the printed pattern. Cross out each row as you finish it. Patterns abandoned because the maker lost their place mid-project are common; patterns abandoned because of physical paper crossing-out are rare. Digital pattern tracking apps exist but tend to slow makers down compared to a pencil mark.
Are free macrame patterns reliable?
Free patterns from established designers and craft publishers are generally accurate. Free patterns scraped from social media without source attribution are often incomplete or contain errors. If a free pattern has no clear designer credit, treat it as a starting point and verify cord calculations with your own test panel before committing.
Building Confidence with Written Patterns
Reading macrame patterns is a learnable skill, not a natural talent. The notation system is consistent across most designers, the diagram conventions are visually intuitive once you know the legend, and the scaling math is arithmetic, with no advanced math required. The only real prerequisite is comfort with the basic knots themselves, which any maker who has finished a wall hanging tutorial already has.
Start with patterns from established designers who provide clear legends and complete cut lists. Make a test panel for the first pattern. Keep your own pattern notes. Within three to five completed projects, written patterns stop feeling foreign and start feeling faster than video tutorials, because you can scan a written pattern and know exactly how long the project will take.
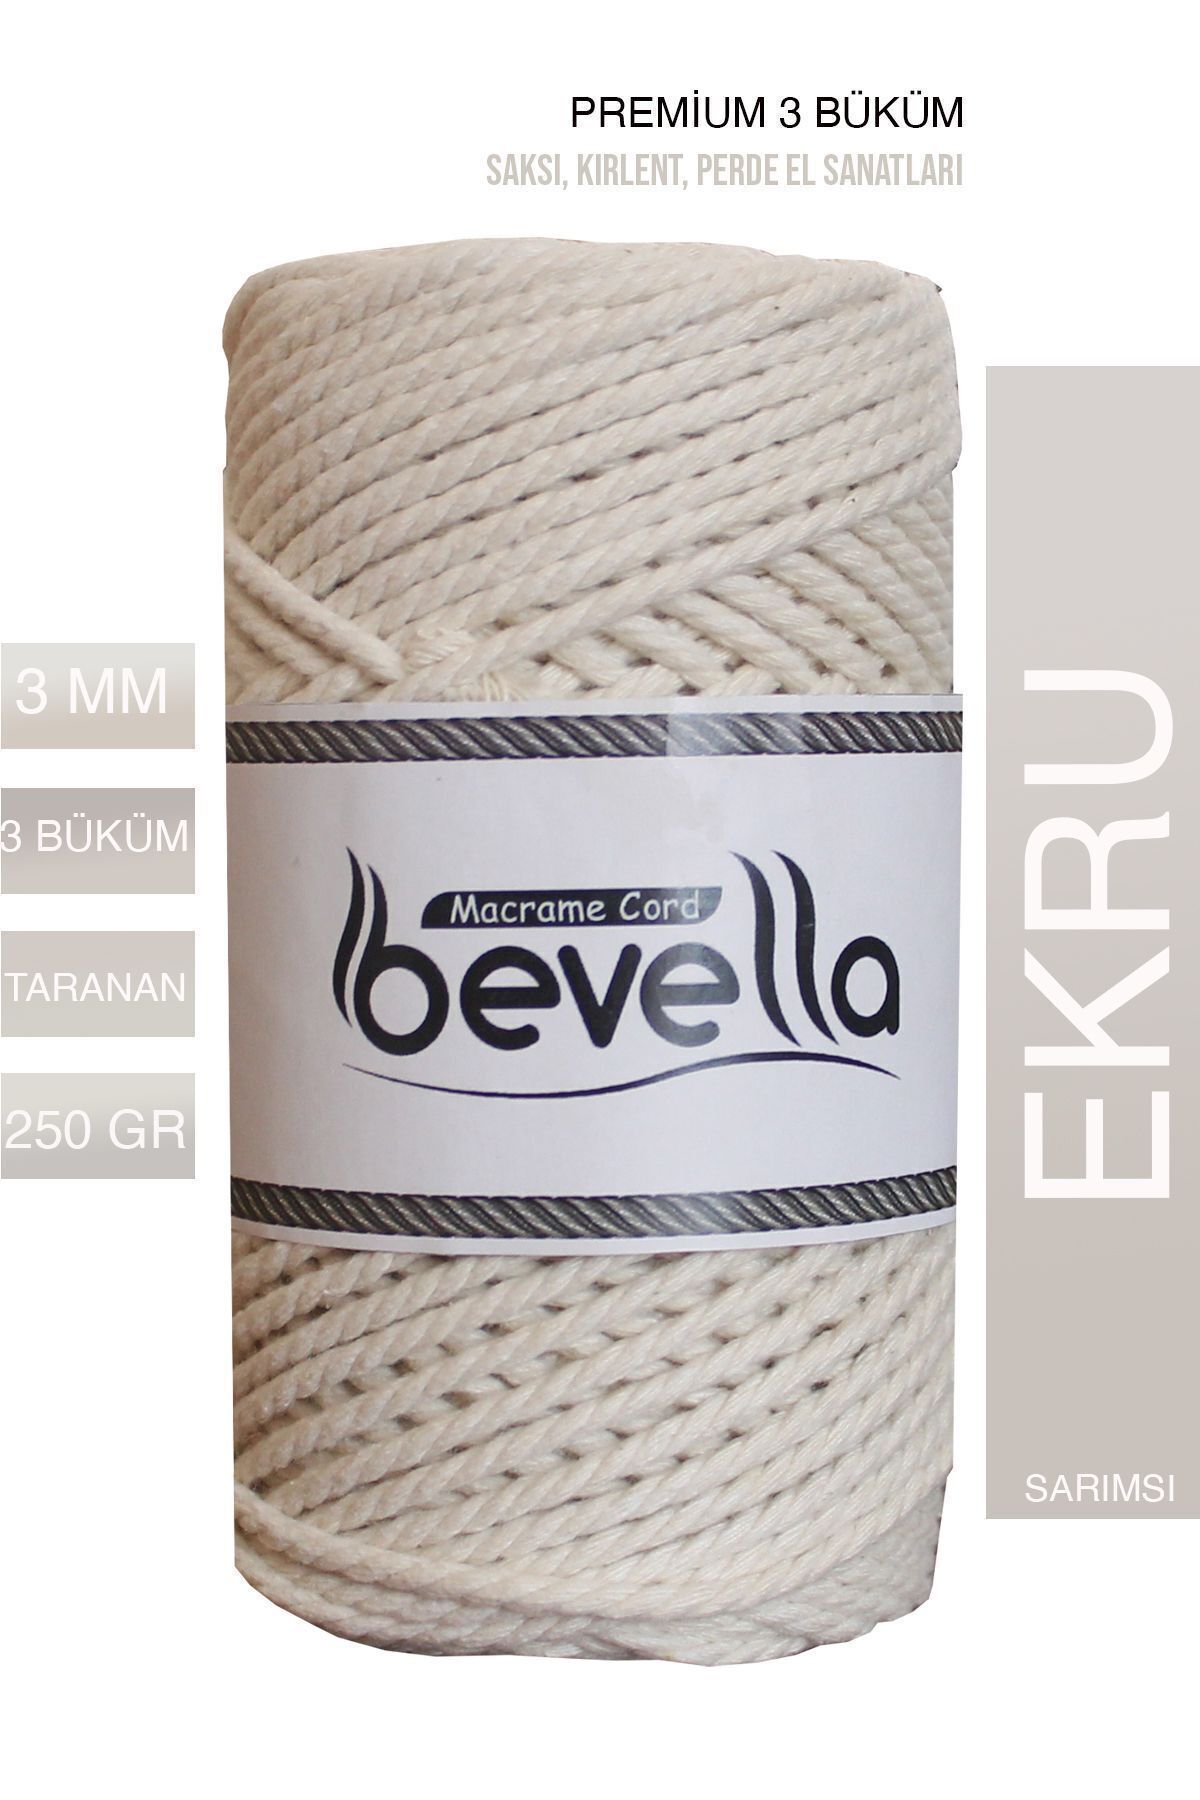
For makers sourcing cord to follow patterns precisely, Bevella Macrame Cord stocks the standard sizes used in most published patterns: 3mm, 4mm, 5mm, and 6mm in single-strand and 3-ply twisted cotton.
Sources cited in this article: Rain POS (arts and crafts market data), International Guild of Knot Tyers (IGKT) Pattern Library (diagram conventions), Modern Macramé blog (maker survey on common project mistakes).