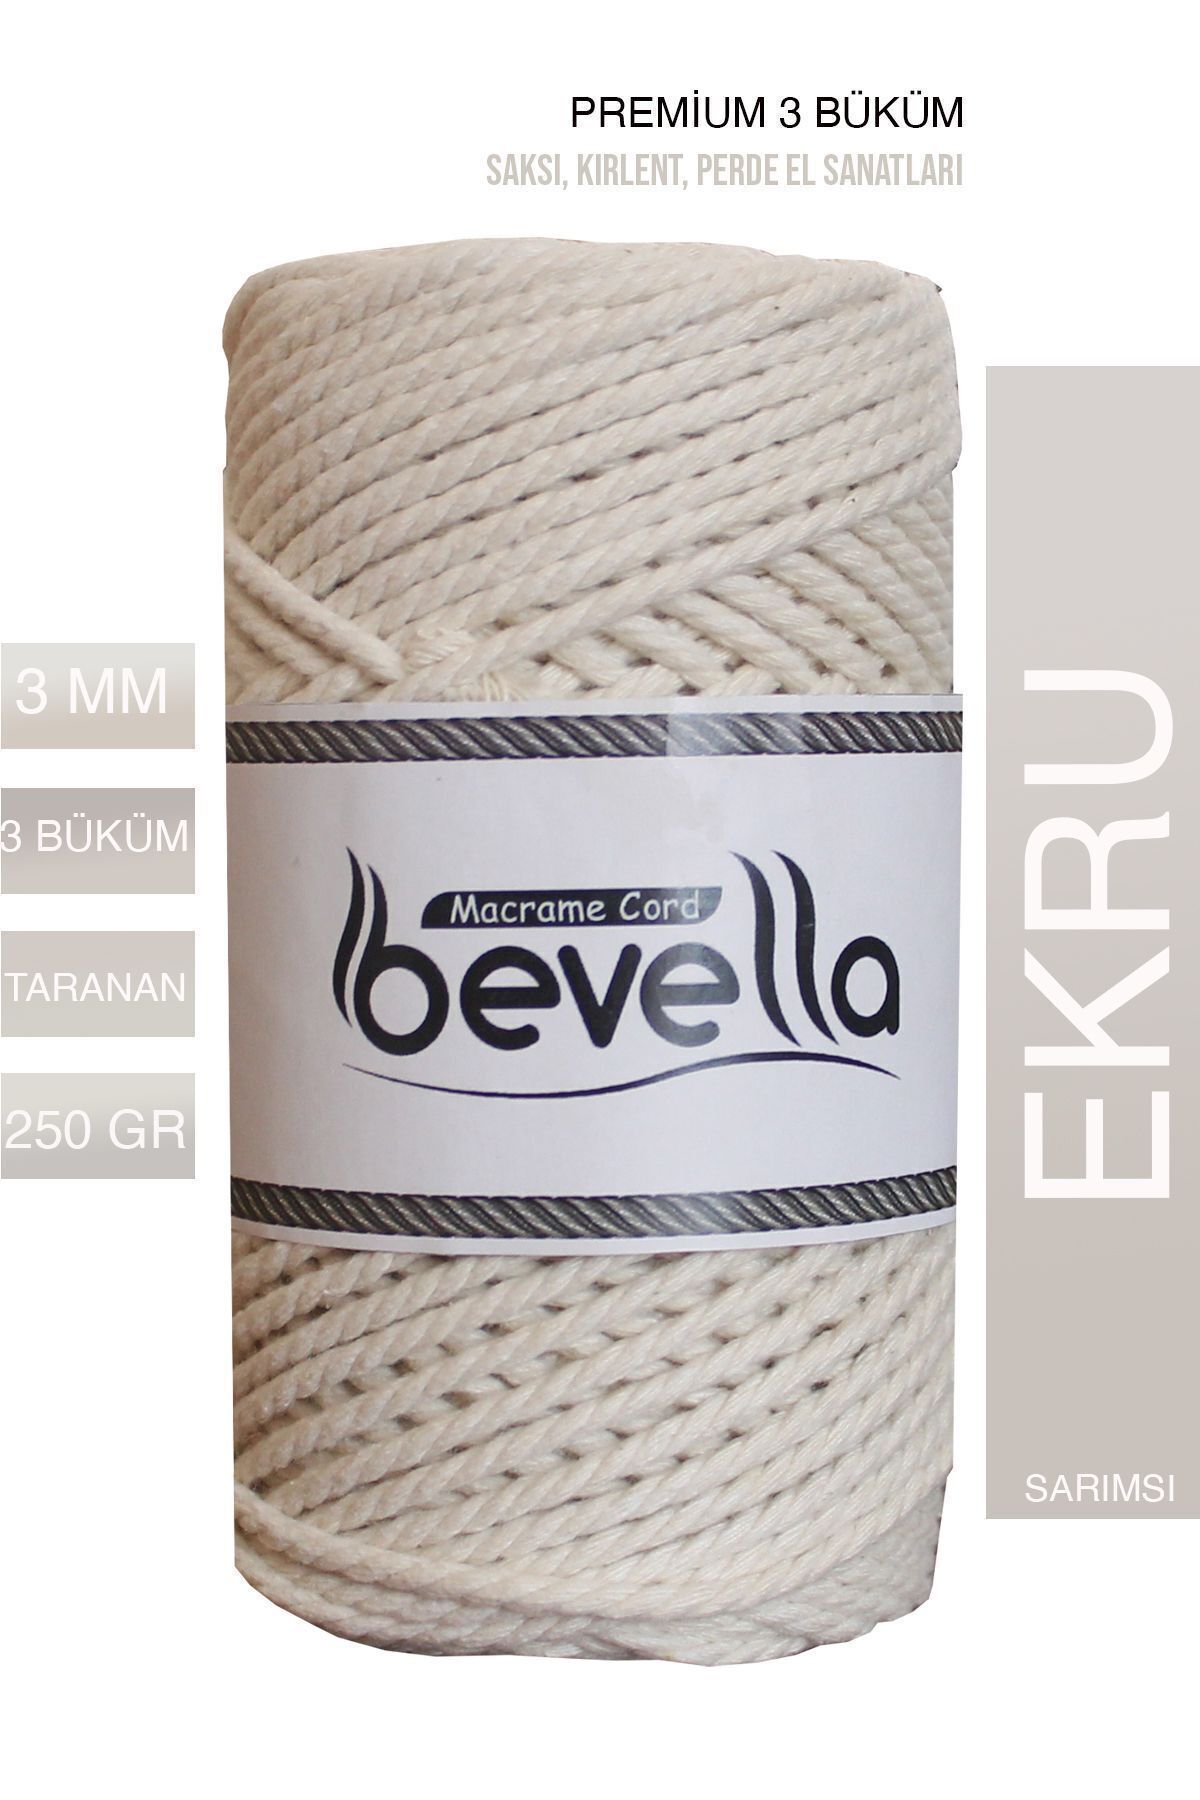
Macrame Fringe Wall Hanging Guide: Types, Brushing, and Styling
A macrame fringe wall hanging is the form most photographed on Instagram and Pinterest, and the form that sells fastest online and at craft markets. Pinterest reported searches for "boho wall decor" rose 60% year over year in 2023 ([Pinterest Predicts 2024]), and fringe-heavy macrame is the visual signature of that category. Fringe is also the part of the project where most beginners go wrong, bad trimming, damaged brushing, or wrong cord choice ruins an otherwise solid piece. This guide covers every fringe decision: cord type, length math, brushing technique, cut shapes, and how to style the finished piece for display or photography.
Key Takeaways
- Single-strand cotton cord produces the fluffiest fringe; 3-ply twisted cord produces a wavy, defined fringe; braided cord cannot be brushed
- Plan fringe length at 20-40% of total piece length for visual balance
- Brush only single-strand or twisted cord; use a slicker brush or pet brush, not a hairbrush
- V-cut, straight-cut, and layered cuts each suit different room aesthetics, match cut shape to interior style before trimming
- Always trim fringe with the piece hanging in its final position, never flat on a table
What Is Fringe in a Macrame Wall Hanging?
Fringe is the unknotted cord at the bottom edge of a macrame wall hanging, left loose to hang freely or brushed out to create texture. It is not a separate component, it is the same cord that runs through the knotted body of the piece, simply left unworked at the bottom. Fringe accounts for 20-40% of finished piece length in most modern wall hanging designs, and it carries most of the piece's visual movement. The industry trend reports, which fits standard above-sofa display dimensions.
What Cord Should You Use for a Fringe Wall Hanging?
Fringe behavior depends entirely on cord construction. Three of the four main macrame cord types produce dramatically different fringe results, and the fourth produces no fringe at all. Choosing the wrong cord for the fringe effect you want is the most common preventable mistake in fringe wall hanging design.
| Cord Type | Fringe Behavior | Best For |
|---|---|---|
| Single-strand cotton | Brushes into soft, fluffy fringe | Boho, organic, soft-textured pieces |
| 3-ply twisted cotton | Untwists into wavy, crinkled fringe | Defined wave texture, structured pieces |
| Macrame rope | Untwists into pronounced wave fringe | Statement pieces, dramatic texture |
| Braided cord | Cannot fringe, sealed structure | Avoid for any fringe design |
The single-strand vs 3-ply choice is what separates the two dominant aesthetic categories of fringe wall hangings. Soft, brushed, "cloud-like" fringe is single-strand cotton. Crinkled, wavy, "ramen noodle" fringe is 3-ply twisted cord. These are not interchangeable looks. Photograph the styles you want to make first, then buy the cord that matches.
Diameter Recommendations for Fringe Wall Hangings
- 3mm, fine, dense fringe; suits small pieces under 30cm wide
- 4mm, most popular; balances fringe density and knot definition
- 5mm, chunkier fringe; suits medium to large pieces
- 6mm and up, bold statement fringe; needs proportionally large knot body
How Long Should the Fringe Be?
Fringe length is set by visual proportion, not by a fixed measurement. The standard ratio used by professional macrame designers is fringe equals 25-40% of the total finished piece length. A 100cm wall hanging carries 25-40cm of fringe; a 60cm piece carries 15-24cm. Going below 20% leaves the piece looking truncated; going above 50% makes the piece read as fringe with a small knot body attached.
The fringe-to-body ratio also depends on knot density:
- Dense knot body (heavily knotted, complex pattern): use 30-40% fringe to balance the visual weight
- Sparse knot body (open, geometric pattern): use 20-25% fringe to keep the eye on the knotwork
- Statement fringe pieces: intentionally use 40-50% fringe; the knotwork becomes a frame for the fringe
Calculating Cord Length for Fringe
Fringe cord length adds to the knotted body cord length. The formula:
Total cord per cord position = (knotted body length Ã, multiplier) + (fringe length Ã, 1.2)
The 1.2 multiplier on fringe accounts for the fiber relaxation that occurs after brushing. Brushed cord shrinks back slightly as fibers fluff out, without the buffer, brushed fringe ends up 5-15% shorter than planned.
[CHART: Bar chart comparing cord length needed for 25%, 35%, and 45% fringe ratios on a 100cm finished piece - Source: Bevella Macrame Cord pattern data]
What Are the Main Fringe Cut Styles?
Fringe cut shape is the design decision that defines the personality of a finished piece. The same knotted body looks completely different with a straight cut versus a V cut versus a layered cut. There is no universal "best" cut, each suits a specific aesthetic. Choosing the cut before you cut is critical, because trimming errors are not reversible.
1. Straight Cut
The simplest cut: all fringe ends trimmed to the same horizontal line. Produces a clean, geometric finish. Suits modern, minimalist, and Scandinavian interior styles. The straight cut is also the most forgiving for beginners, small trimming errors are easier to correct on a horizontal line than on an angled one.
2. V Cut
Fringe trimmed in a V shape, longer at the center and shorter at the outer edges, or shorter at the center and longer at the edges (inverted V). The V cut adds visual movement and is the most common choice for boho-style pieces. Standard V-cut depth is 8-15cm difference between the longest and shortest points.
3. Inverted V (or Diamond Cut)
Fringe shorter at the center, longer at the edges. Less common than the standard V cut, but striking on wide pieces (60cm+). The inverted V draws the eye outward, making a piece appear wider than it is.
4. Layered Cut
Multiple horizontal cut levels stacked vertically, like layered hair. Front fringe trimmed shortest, back fringe longest. Layered cuts create depth and dimensionality. They suit large statement pieces and hide small trimming errors better than single-level cuts.
5. Asymmetrical Cut
Fringe length varies irregularly across the bottom edge, for example, longer on the left, shorter on the right, or with intentional clusters of varying length. Suits maximalist, eclectic, and contemporary art-style pieces. Hardest to execute well; easiest to make look unintentional.
How Do You Brush Macrame Fringe Without Damaging It?
Brushing is the technique that turns flat unknotted cord ends into the fluffy, voluminous fringe seen in finished wall hangings. Done correctly, brushing transforms the texture without breaking fibers. Done incorrectly, brushing snaps cord fibers, creates frizz, and produces uneven results that cannot be fixed without cutting more cord.
The right tool for the job is a slicker brush, a flat brush with fine metal pins, sold as a pet grooming brush at any pet supply store. Slicker brushes cost USD 8-15 and last for hundreds of brushing sessions. Hairbrushes do not work; their bristles are too soft to separate cord fibers. Wire brushes are too aggressive and shred the cord.
Step-by-Step Brushing Technique
Step 1: Hang the piece in vertical position. Brushing flat on a table produces uneven results because the cord lies in unnatural positions. Hang the piece on its final mounting hardware or a temporary hook before brushing.
Step 2: Section the fringe. Separate the fringe into sections of 8-12 cord ends. Brushing the entire fringe at once creates tangles. Sectioning lets you control tension and direction.
Step 3: Start at the bottom, work upward in small movements. Brush only the bottom 3-5cm at first, in short downward strokes. Once the bottom is fluffed, move up 2-3cm at a time. Brushing top-to-bottom in long strokes catches the cord on the knot above and pulls the structure loose.
Step 4: Brush each section 5-10 times. More than 10 passes per section breaks fibers without adding fluff. If a section still looks flat after 10 passes, the cord may be too tightly twisted or too short, re-cutting and starting fresh works better than over-brushing.
Step 5: Steam to set. A garment steamer held 15cm from the brushed fringe relaxes the fibers and locks the fluff in place. Skip the steamer step and brushed fringe gradually compresses back over the next few weeks.
Resist the urge to brush every fringe to maximum fluff. Slightly under-brushed fringe (60-70% of full fluff potential) photographs better than fully brushed fringe because the texture variation is more visible. Fully brushed fringe looks like a solid block in photos.
How Do You Trim Fringe Cleanly?
Trimming is where most fringe wall hangings go wrong. The piece looks balanced until the maker picks up scissors, makes one over-aggressive cut, and the entire fringe shape becomes uneven. Trimming follows three rules that prevent this outcome.
Rule 1: Trim with the piece hanging vertically. Gravity pulls cord into its natural resting position. Trimming on a table produces a fringe that looks correct flat but uneven once hung. Always trim in display position.
Rule 2: Use sharp fabric scissors, not paper scissors. Cotton cord dulls scissors quickly. Paper scissors crush cord fibers rather than cutting cleanly, which produces frayed ends that fluff unpredictably. Dedicated fabric scissors stay sharp through dozens of macrame projects when used only on cord.
Rule 3: Cut conservatively first, then refine. First pass: cut the fringe 2-3cm longer than your target length. Step back and look at the piece from 2 meters away. Identify uneven sections and adjust. Second pass: trim to final length. Cutting in two passes prevents the most common failure mode, which is cutting too short on the first attempt.
Trimming Order for Different Cuts
- Straight cut: Mark the line with masking tape on the wall behind the piece. Cut along the tape edge.
- V cut: Mark the deepest point first. Cut from the center outward to one edge, then from the center outward to the other edge. Symmetric cuts require working from the same reference point.
- Layered cut: Trim the back layer first, then the front layer. Trimming front-first means you cannot see the back layer to match it.
- Asymmetrical cut: Photograph the piece between cuts. The eye misses asymmetry that the camera shows.
How Do You Style and Display a Fringe Wall Hanging?
Fringe wall hangings perform best when their display environment matches the piece's scale and aesthetic. Pinterest's 2024 trend data shows the strongest engagement on macrame photography that pairs the piece with natural light, neutral wall colors, and at least one secondary texture (wood, plants, or woven elements) ([Pinterest Predicts 2024]).
The four styling decisions that matter most:
1. Mounting height. Hang the wall hanging so the bottom of the fringe sits 15-20cm above the nearest furniture edge (sofa back, headboard, console table). Closer than 15cm crowds the piece; further than 20cm disconnects it from the room.
2. Wall color. Light, neutral walls (white, cream, soft gray, beige) photograph better than colored walls because the fringe texture stands out against the flat background. Colored walls work, but the piece's fringe definition softens.
3. Lighting direction. Side lighting from a window or lamp creates fringe shadow detail, which is what makes the piece look three-dimensional in photographs. Direct overhead lighting flattens fringe and is the most common reason maker photos look amateur.
4. Secondary textures. Pair the wall hanging with at least one trailing plant, wooden furniture surface, or woven basket within the same visual frame. Macrame in isolation reads as art-shop; macrame with complementary textures reads as designed interior.
[CHART: Donut chart showing styling element frequency in top-engagement Pinterest macrame photos: 38% with plants, 27% with wood furniture, 22% with woven baskets, 13% other - Source: Pinterest Predicts 2024]
Photography Tips for Sellers
If you sell macrame online or Instagram, photographs determine whether your work sells:
- Shoot during the "golden hour" 1-2 hours before sunset for warm side light
- Use a plain wall background; the piece is the subject, not the room
- Photograph from 2 meters away with the camera at the piece's vertical center
- Include one detail shot showing fringe texture close-up
- Edit minimally, over-edited macrame photos lose the fiber texture buyers want
Frequently Asked Questions About Fringe Wall Hangings
How long should fringe be on a wall hanging?
Fringe should be 25-40% of the total finished piece length for visual balance. A 100cm wall hanging carries 25-40cm of fringe. Pieces with simple, sparse knot bodies suit shorter fringe (20-25%); pieces with dense, complex knot bodies need longer fringe (35-40%) to balance the visual weight.
Can you brush macrame fringe with a hairbrush?
No. Hairbrushes have bristles that are too soft to separate macrame cord fibers and will produce uneven, frizzy results. Use a slicker brush (a flat metal-pin brush sold as a pet grooming tool). Slicker brushes cost USD 8-15 and produce the fluffy, fully separated fringe seen on professional pieces.
Why is my fringe uneven after trimming?
Two common causes: the piece was trimmed flat on a table instead of hanging vertically, or the cord ends were not aligned before cutting. Always hang the piece in its final display position before trimming, gently comb the fringe straight, and cut conservatively in two passes, long first, then refine to final length.
What's the difference between straight cut and V cut fringe?
Straight cut trims all fringe ends to the same horizontal line; V cut trims fringe in a V shape, with either the center or the edges longer. Straight cuts suit modern, minimalist interiors; V cuts suit boho, eclectic, and traditional interiors. The V cut adds visual movement; the straight cut emphasizes geometric simplicity.
How do you keep macrame fringe from getting tangled?
Brush thoroughly during finishing, use a light steam to set the fibers, and store the piece flat or hanging, never folded. Tangled fringe usually results from either skipping the steam-setting step or storing the piece compressed. Light re-brushing every 6-12 months keeps fringe looking new.
Is single-strand or twisted cord better for fringe?
Single-strand cotton produces the soft, fluffy, "cloud-like" fringe seen in most boho macrame. 3-ply twisted cord produces a wavy, crinkled fringe with defined texture. Both are popular; the choice is aesthetic, not technical. Photograph the style you want to make first, then buy the matching cord type.
The Fringe Decision Framework
Fringe is not an afterthought attached to the bottom of a wall hanging, it is 30-40% of the visual identity of the finished piece. Cord choice (single-strand vs 3-ply), length proportion (25-40% of total), cut shape (straight vs V vs layered), and brushing technique together determine whether a piece looks like professional decor or amateur craft. The framework is simple: choose cord based on the texture you want, set length at 25-40% of total, brush with a slicker brush in vertical position, and trim hanging from the wall.
For makers building a portfolio of fringe wall hangings, Bevella Macrame Cord stocks single-strand cotton in 3mm, 4mm, and 5mm, the diameters that produce the cleanest brushed fringe results.
Sources cited in this article: Pinterest Predicts 2024 (boho wall decor search trend), craft marketplaces Trend Report 2024 (fringe-textured wall art category growth).